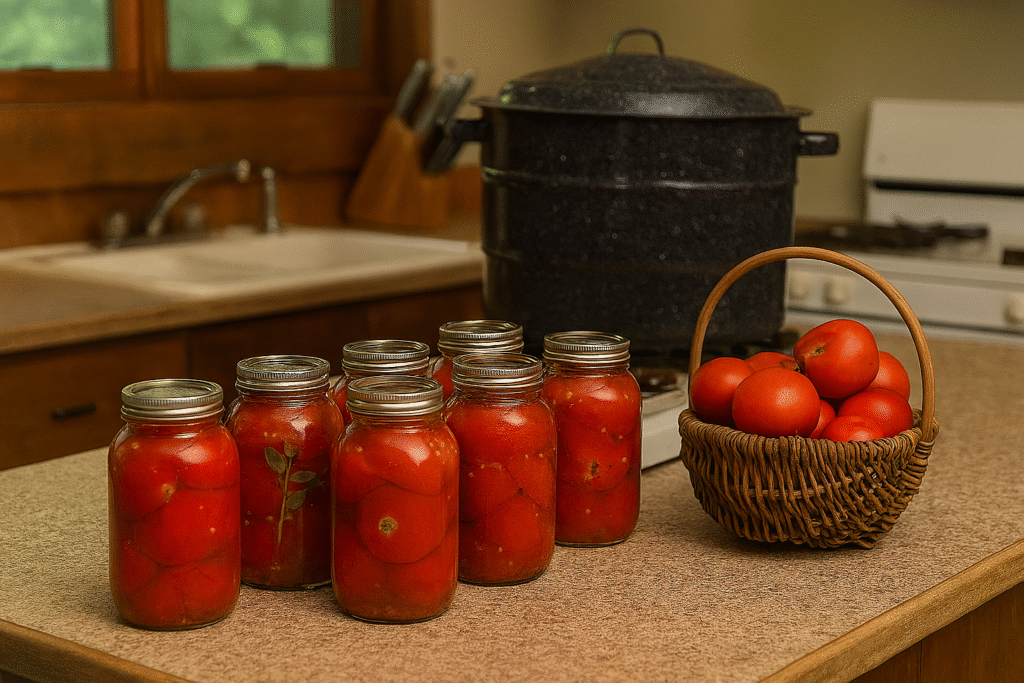
Why Canning Tomatoes Doesn’t Have to Be Overwhelming

Canning tomatoes can feel like a sweaty marathon—pots of boiling water, peeling skins, and trying to remember if it’s one teaspoon of lemon juice per pint or quart. But with the right system and tools, you can preserve your tomato harvest without losing your sanity. Whether you’re a beginner or a seasoned homesteader, this guide will help you get those jars sealed with confidence (and maybe even a smile).
Step 1: Gather Your Equipment (Sanity-Saving Tools)
Here’s what you’ll need before you even look at your tomatoes:
- Water Bath Canner – Perfect for high-acid tomato recipes.
👉 Recommended: Ball FreshTech Electric Water Bath Canner – Buy it at Amazon – it plugs in, saving stovetop space. - Pressure Canner – Needed if you’re canning low-acid tomatoes or skipping added lemon juice.
👉 Recommended: Presto 23-Quart Pressure Canner – Buy it at Amazon – reliable, affordable, and holds multiple jars. - Canning Jars & Lids – Stick with quality jars that won’t crack.
👉 Recommended: Ball Mason Jars, Wide Mouth, 12-Pack – Buy it at Amazon. - Jar Lifter – Save your fingers from boiling water!
👉 Recommended: Norpro Jar Lifter – Buy it at Amazon. - Funnel & Ladle Set – For neat, mess-free filling.
- Citric Acid or Bottled Lemon Juice – Keeps tomatoes safely acidic for water bath canning.
Step 2: Prepping Your Tomatoes
- Select ripe, firm tomatoes. Overripe ones can make your jars watery.
- Blanch and peel. Dip tomatoes in boiling water for 30–60 seconds, then into an ice bath. The skins slide off like magic.
- Core and cut. Halve or quarter depending on jar size.
👉 Pro Tip: Use a tomato peeler like the OXO Good Grips Serrated Peeler – Buy it at Amazon. It makes quick work of peeling if you don’t want to blanch.
Step 3: Filling Your Jars
- Add 2 tbsp bottled lemon juice (or ½ tsp citric acid) per quart.
- Pack tomatoes tightly but don’t smash them.
- Pour in hot tomato juice or boiling water, leaving ½ inch headspace.
- Remove air bubbles with a plastic spatula.
- Wipe rims, apply lids, and tighten bands fingertip tight.
Step 4: Processing Methods
Water Bath Canning
- Process pints for 35 minutes, quarts for 45 minutes (adjust for altitude).
- Works only with acidified tomatoes.
Pressure Canning
- Process pints for 20 minutes, quarts for 25 minutes at 10 PSI (adjust for altitude).
- Allows no-lemon, no-vinegar canning.
👉 Recommended Resource: Ball Complete Book of Home Preserving – Buy it at Amazon. It’s the gold standard for safe recipes.
Step 5: Cooling and Storage
- Remove jars and set them on a towel—don’t touch the lids until they’ve cooled.
- Check seals after 12–24 hours.
- Store in a cool, dark place for up to 18 months.
Canning Tomatoes Without Losing Your Mind: Quick Hacks
- Work in batches – Don’t try to do 50 lbs at once unless you enjoy chaos.
- Use an electric water bath canner – No juggling burners.
- Prep a day ahead – Peel and core tomatoes, refrigerate, then can the next day.
- Play music or a podcast – Makes the time fly.
Common Mistakes to Avoid
- Skipping lemon juice or citric acid in water bath canning.
- Overtightening lids (jars won’t vent properly).
- Not adjusting for altitude.
- Using old lids that don’t seal.
