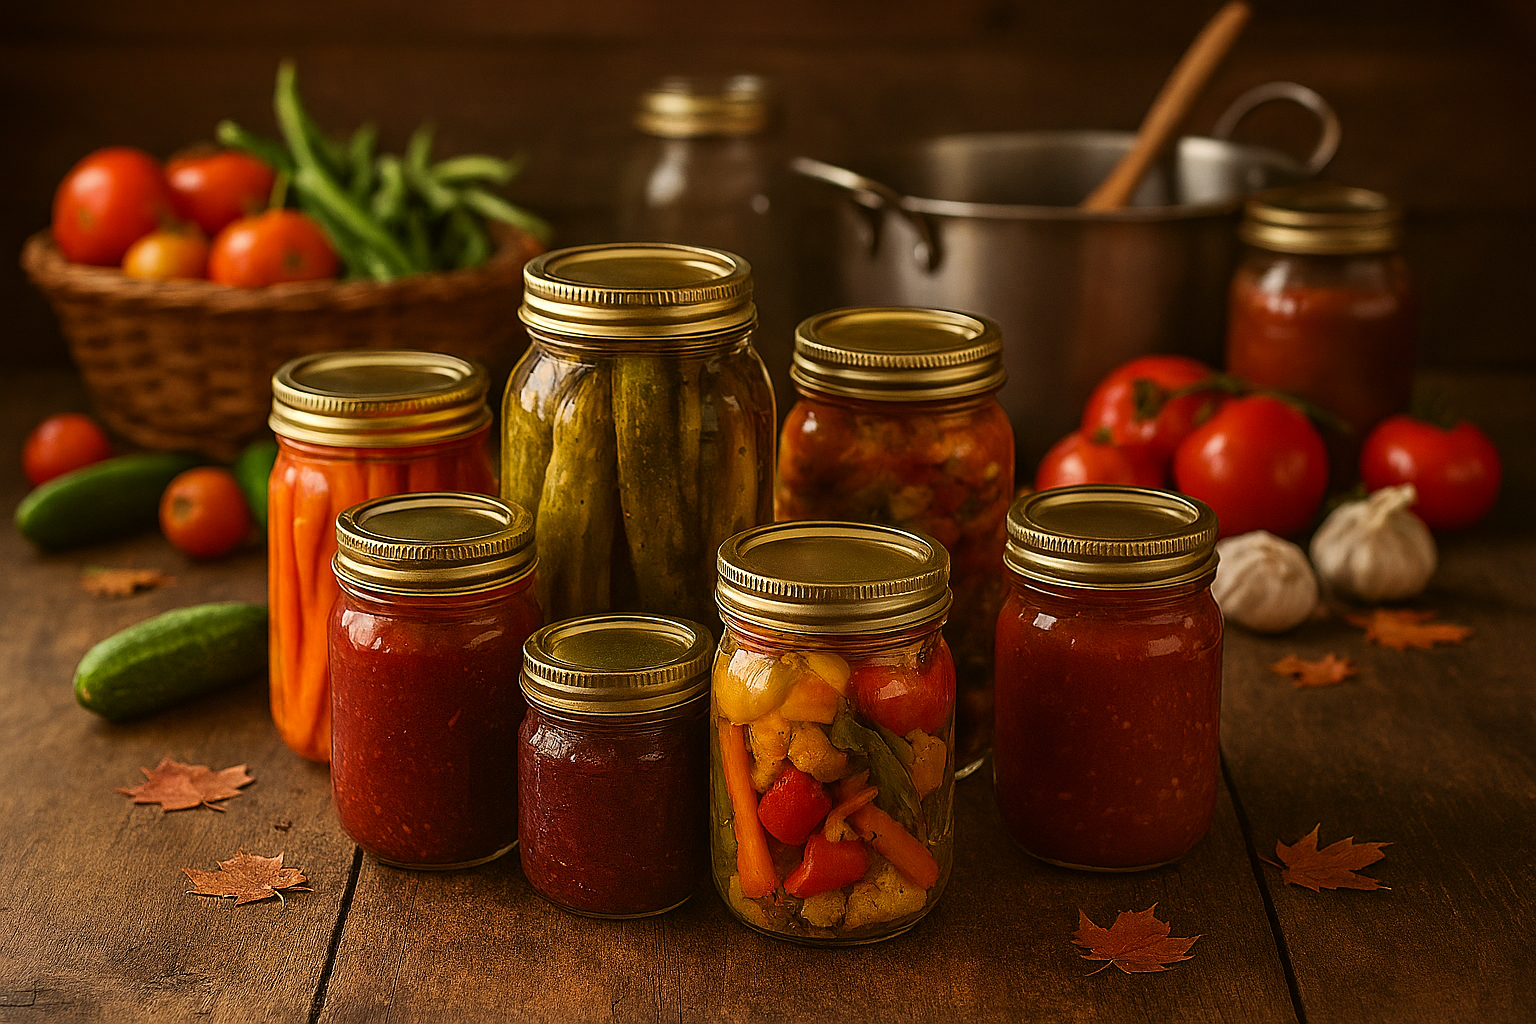
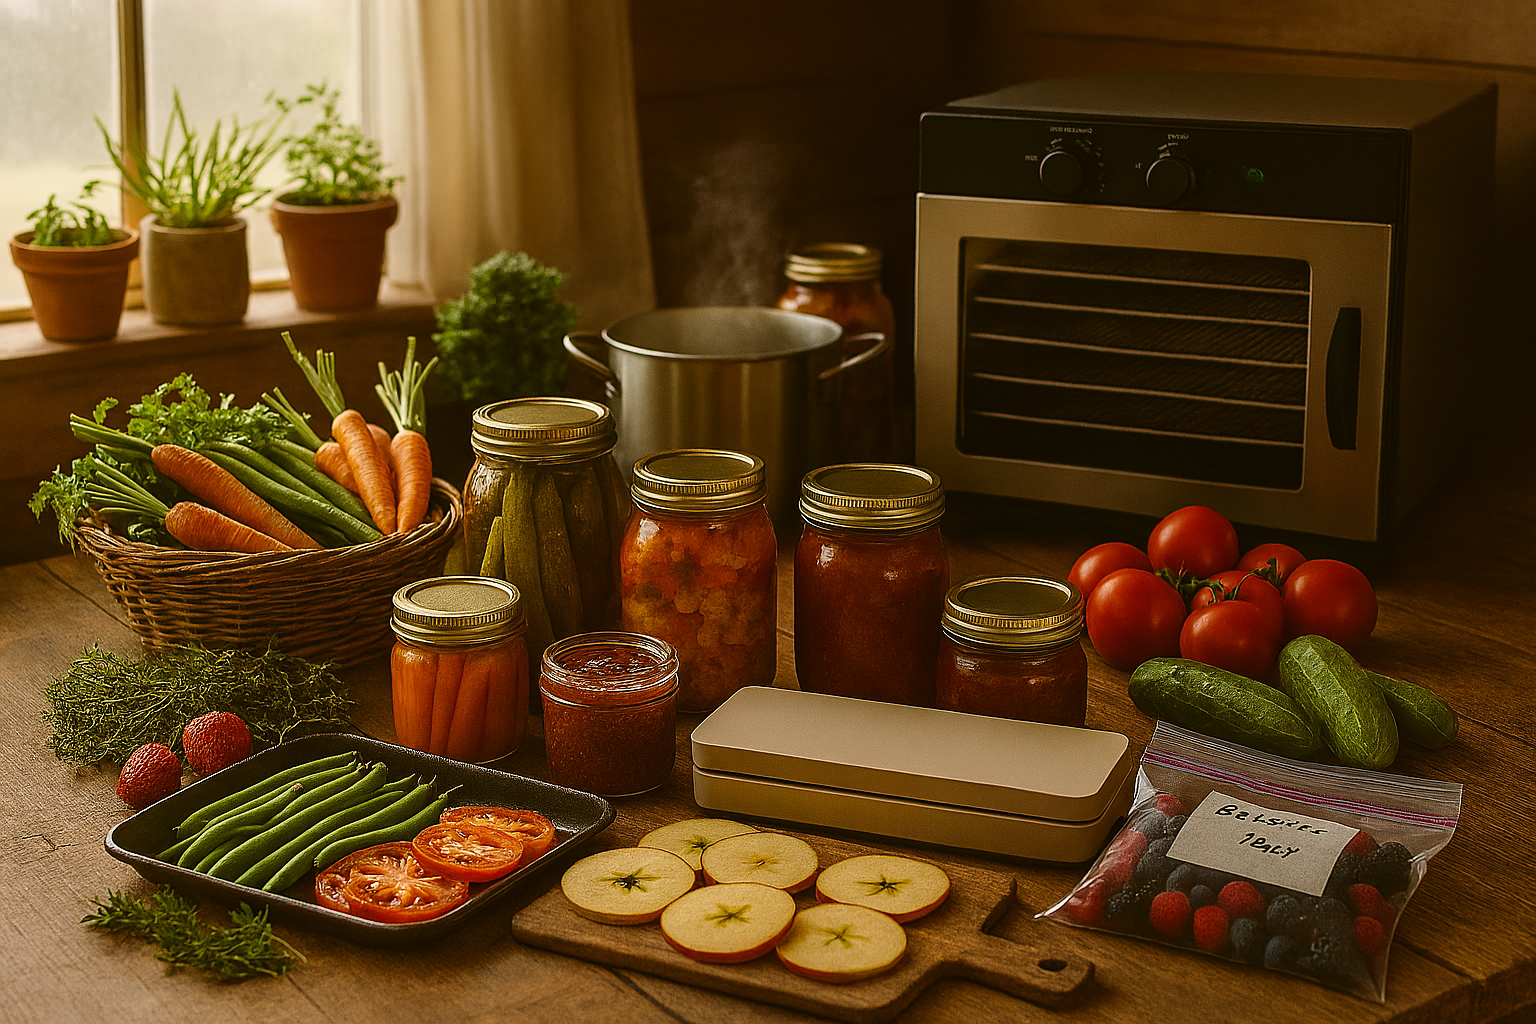
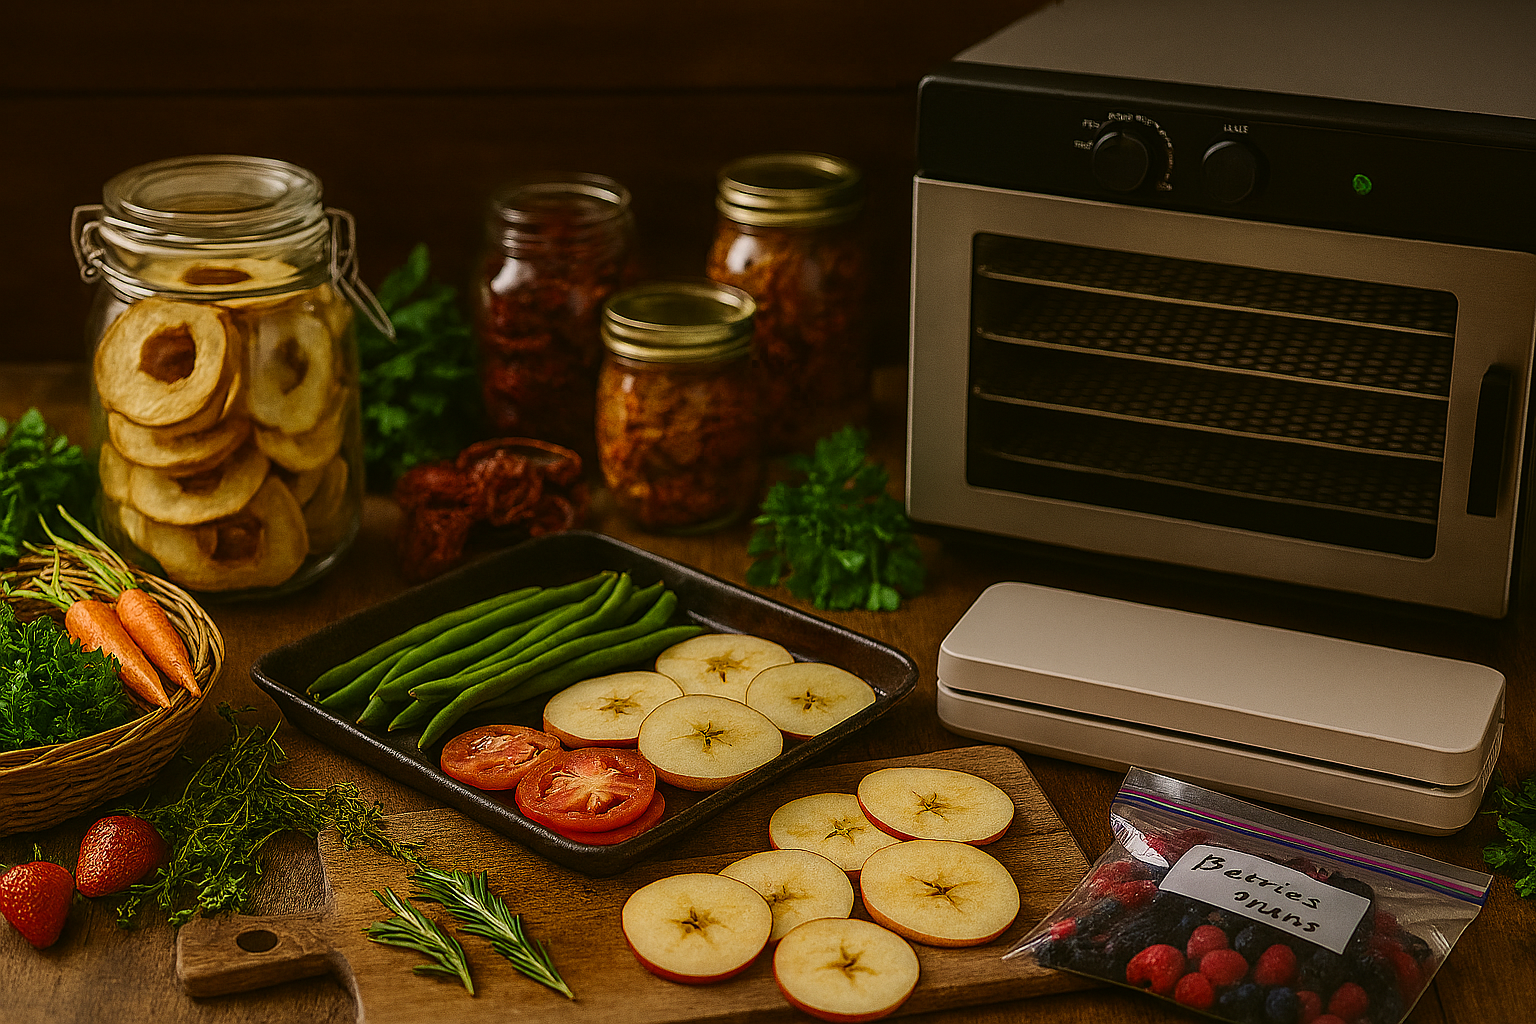
A Complete Guide to Preserving Your Harvest
If you’ve ever pulled a jar of home-canned tomatoes, pickles, or green beans from the pantry, you know the satisfaction that comes with it. Canning isn’t just about food storage—it’s about saving money, reducing waste, and keeping your pantry stocked with wholesome, homegrown goodness all year long. Whether you’re brand-new to food preservation or a seasoned homesteader, learning the difference between water bath canning and pressure canning is key to doing it safely and effectively.
In this guide, we’ll cover everything you need to know about canning—what it is, when to use each method, step-by-step instructions, safety tips, and the best equipment to get started.
What Is Canning and Why Is It Important?
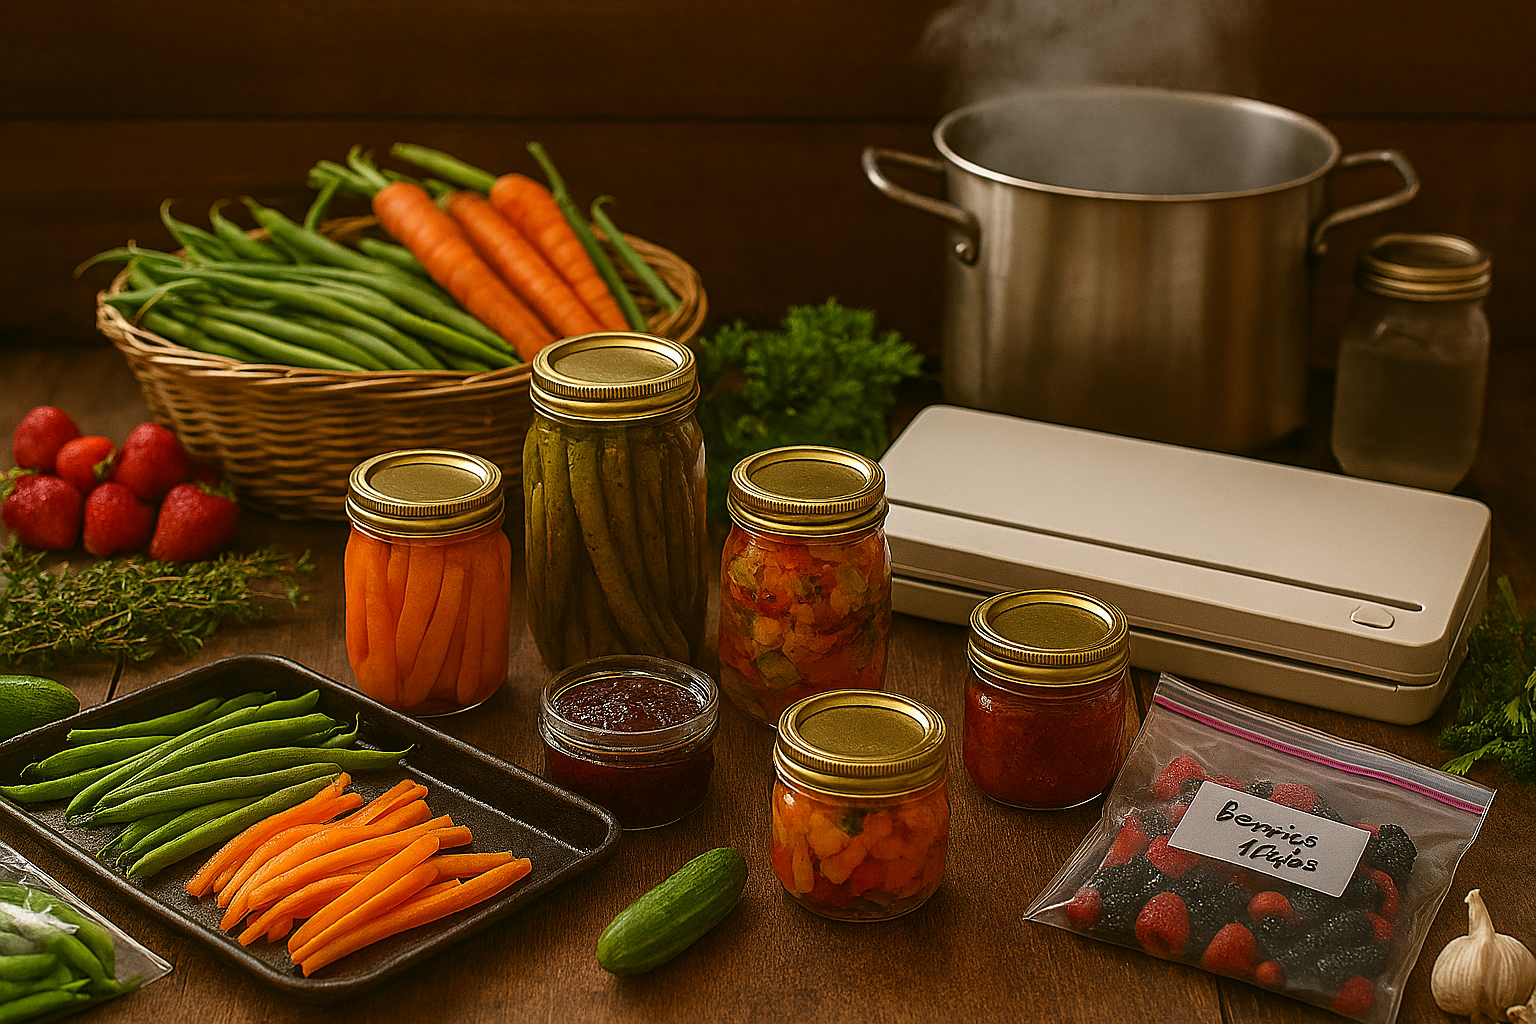
Canning is the process of preserving food in jars by heating them to destroy bacteria, yeasts, and molds while creating a vacuum seal that keeps food shelf-stable. This prevents spoilage and foodborne illness.
There are two main canning methods:
- Water Bath Canning – Best for high-acid foods like fruits, jams, jellies, pickles, and tomato products with added acid.
- Pressure Canning – Essential for low-acid foods such as vegetables, meats, beans, and soups, where botulism risk is higher.
Water Bath Canning: A Beginner-Friendly Method
What Is Water Bath Canning?
Water bath canning involves submerging jars of food in boiling water (212°F / 100°C) for a specified time. The acidity of the food prevents harmful bacteria like botulism from growing, making it safe for high-acid foods.
Foods Safe for Water Bath Canning
- Jams and jellies
- Pickles and relishes
- Fruit preserves, syrups, and juices
- Tomato sauces (with added lemon juice or citric acid)
Step-by-Step Water Bath Canning Instructions
- Prepare jars and lids by washing in hot soapy water.
- Cook or prepare your recipe using a tested canning guide.
- Fill jars with food, leaving the correct headspace.
- Remove air bubbles with a non-metallic spatula.
- Wipe rims and place lids and bands finger-tight.
- Process jars in a water bath canner with at least 1–2 inches of water covering them.
- Boil for the recommended time (adjust for altitude).
- Cool jars for 12–24 hours and check seals before storing.
Pressure Canning: Safe Preservation for Low-Acid Foods
What Is Pressure Canning?
Pressure canning uses a specialized canner that heats food to 240°F (116°C), which is hot enough to destroy Clostridium botulinum spores that boiling water cannot kill.
Foods That Require Pressure Canning
- Green beans, carrots, corn, and peas
- Potatoes and root vegetables
- Meats, poultry, and fish
- Beans, soups, chili, and stews
Step-by-Step Pressure Canning Instructions
- Prepare jars, lids, and recipe.
- Fill jars with food and liquid, leaving proper headspace.
- Place filled jars on the rack inside the pressure canner.
- Vent steam for 10 minutes before sealing with the weight or gauge.
- Process at 10–15 psi depending on altitude and food type.
- Maintain pressure for the full recommended time.
- Allow pressure to return to zero naturally before opening.
- Remove jars and check seals after cooling.
Essential Canning Equipment for Beginners and Experts
Must-Have Tools for Water Bath Canning
- Water bath canner with rack
- Mason jars with lids and bands
- Canning funnel and bubble remover
- Jar lifter
Must-Have Tools for Pressure Canning
- Pressure canner (not to be confused with a pressure cooker)
- Dial or weighted gauge
- Rack to keep jars off the bottom
- Heat-resistant gloves for safe handling
Canning Safety Tips Every Home Preserver Should Know
- Always use tested canning recipes from reliable sources (USDA, Ball, or NCHFP).
- Adjust processing times for altitude—higher elevations require changes.
- Never reuse old lids; always use new ones for a secure seal.
- Store sealed jars in a cool, dark place and use within one year for best quality.
- If a jar doesn’t seal properly, refrigerate and consume promptly.
Benefits of Canning at Home
- Enjoy fresh, homegrown flavors year-round.
- Save money by preserving seasonal produce.
- Reduce food waste by storing surplus harvest.
- Take control of your food—no preservatives or hidden ingredients.
- Build a sustainable, self-sufficient pantry.
Final Thoughts: Water Bath vs. Pressure Canning
Canning may seem intimidating at first, but once you understand the difference between water bath canning and pressure canning, it becomes an enjoyable way to preserve your harvest. From strawberry jam to hearty beef stew, you’ll have a pantry full of safe, delicious foods ready whenever you need them.
So grab some jars, roll up your sleeves, and start canning—you’ll be amazed at the satisfaction (and savings) it brings.
Read more about Preserving the Harvest
Leave a Reply