Step-by-step tips for safely replacing outlets and switches in your home
Swapping out old outlets or updating light switches is one of the most common DIY electrical tasks. Whether you’re modernizing your home with safer, tamper-resistant outlets or replacing a flickering switch, this project is straightforward if you follow the right steps—and safety comes first.
Safety First: Before You Touch a Wire
Working with electricity requires caution. Always follow these safety steps before starting:
- Turn off the power at your breaker box. Never assume the switch or outlet is safe just because the light is off.
- Use a voltage tester to confirm the wires are not live.
- Wear insulated gloves and use tools with rubber handles if possible.
- Check local codes to make sure your replacement is up to standard.
Tools & Materials You’ll Need
- Flathead and Phillips screwdrivers
- Voltage tester
- Wire stripper/cutter
- Needle-nose pliers
- Electrical tape
- Replacement outlet or switch
- Outlet/switch cover plate
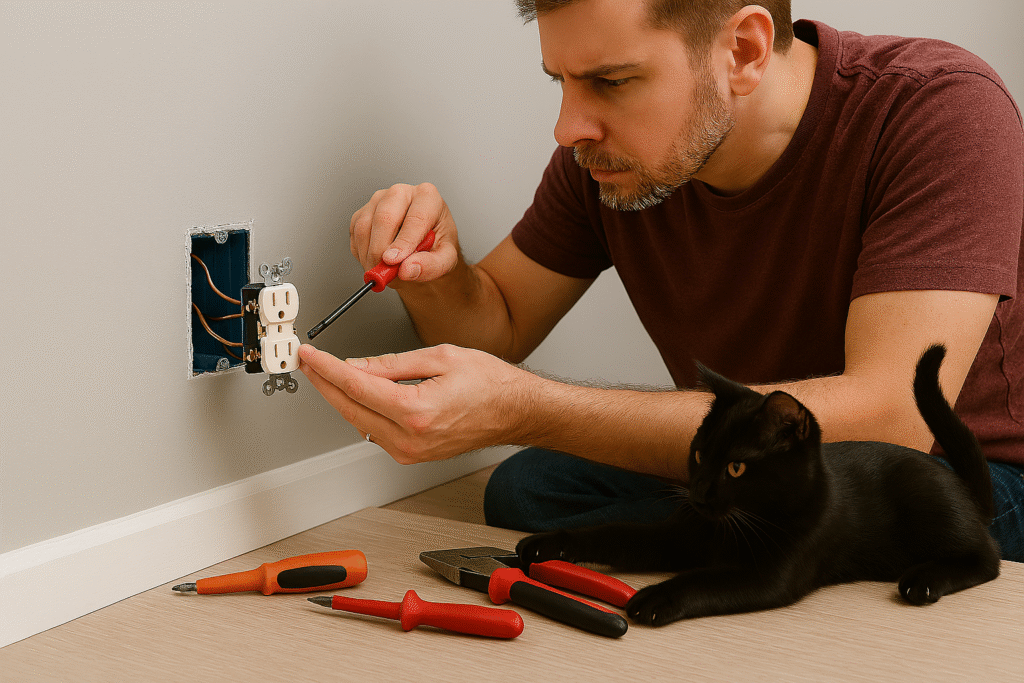
Step-by-Step: Replacing an Outlet
- Shut off the power
- Locate the correct breaker and switch it off.
- Double-check with your voltage tester at the outlet.
- Remove the old outlet
- Unscrew the wall plate.
- Remove the mounting screws that hold the outlet to the box.
- Gently pull the outlet out.
- Disconnect the wires
- Take note (or a picture) of where each wire is connected.
- Loosen the screws and disconnect the hot (black), neutral (white), and ground (bare/green) wires.
- Install the new outlet
- Connect the wires to the new outlet:
- Black (hot) → brass screw
- White (neutral) → silver screw
- Bare/green (ground) → green screw
- Tighten all screws securely.
- Connect the wires to the new outlet:
- Mount and finish
- Push the outlet back into the box.
- Screw it into place and add the wall plate.
- Restore power and test
- Flip the breaker back on.
- Test the outlet with a small device or outlet tester.
Step-by-Step: Replacing a Switch
- Power off and test
- Turn off the breaker and confirm no power with your tester.
- Remove the old switch
- Unscrew the cover plate and mounting screws.
- Pull the switch out carefully.
- Disconnect the wires
- Note how the wires are attached.
- Loosen the screws and remove them.
- Install the new switch
- Attach wires to the new switch in the same configuration.
- Tighten screws and wrap connections with electrical tape.
- Mount and test
- Push the switch into the box, screw it in, and install the cover plate.
- Restore power and flip the switch to confirm it works.
Extra Tips for Success
- Upgrade to tamper-resistant outlets if you have kids in the home.
- Use smart switches or outlets if you’re adding home automation.
- Check box size—older boxes may be too shallow for modern wiring.
- When in doubt, call a licensed electrician. Some jobs are best left to the pros.
Common Questions
Q: Can I replace a two-prong outlet with a three-prong outlet?
A: Only if the circuit is grounded. If not, you’ll need to install a GFCI outlet labeled “No Equipment Ground.”
Q: Do I need a permit to replace outlets or switches?
A: Most areas don’t require permits for one-for-one replacements, but check your local electrical code.
Q: Why does my outlet spark when I plug something in?
A: A small spark can be normal, but frequent sparking may mean loose connections or a failing outlet—time to replace it.
✅ With the right tools, a little patience, and safety as your top priority, you can confidently replace outlets and switches to keep your home both functional and safe.